Epic National Park Portrait

Epic National Park Portrait
Figuring out how to take this epic National Park portrait was a lot of fun and very interesting. For this project we needed to take a picture of a model with the sky completely blown out, mine isn’t as blown out as it probably should be. Then we took a photo where the sky is how we want the final picture to be. Then you keep the settings the same as the second photo and add a Speedlight so that the model is lit up as well as the sky.
It creates this studio-style photo but outside with a remarkable background. While looking at my epic portrait I should have either done a higher angle or a lower angle to keep her hat in the blue sky or the green grass. Each time I take photos I learn a new skill that I want to keep working on so I can perfect it. It’s crazy how much there is to learn about photography and the millions of different types of styles. I recommend learning about all of them so when you decide on your favorite you can put the time in effort into it.


Check out more Epic National Park Portraits at https://www.donna-young-photography.com/blog/2020/1/epic-engagement-session-zion-national-park-denver-colorado-portrait-photography
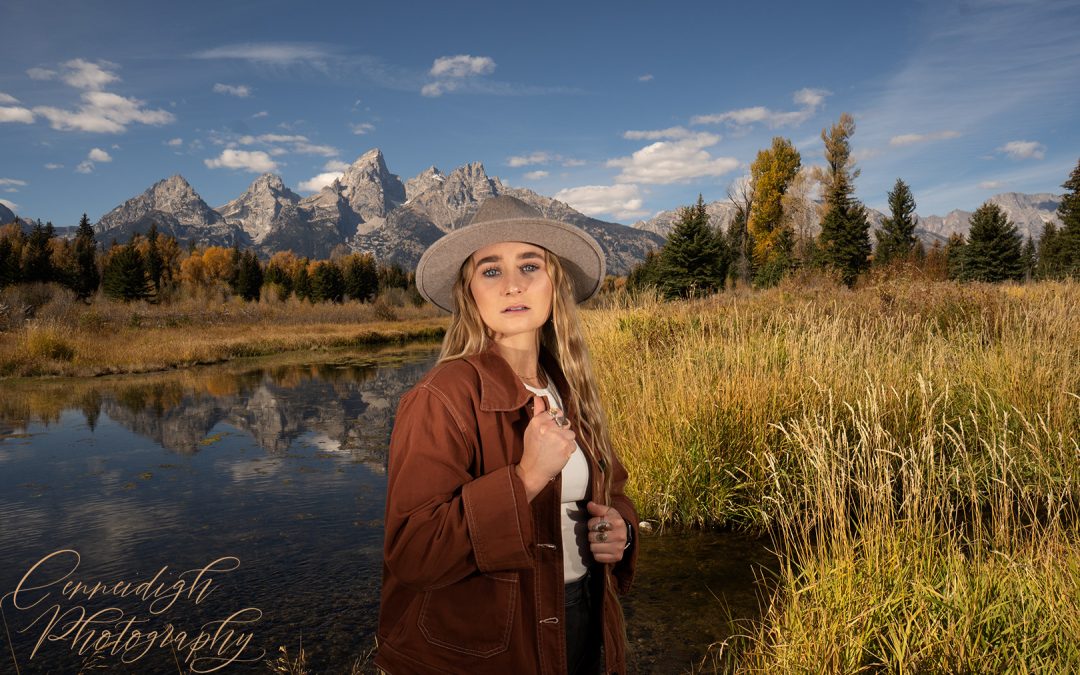
National Park Portraits

National Park Portraits
While shooting these National Park Portraits I learned a lot about lighting and tangents. I have never really enjoyed taking photos of people because I’m not sure where to crop them in. Also, I’m not that aware of how to line people’s heads with the things behind them. I don’t see the design problem with their heads lining up with a mountain but as I have been taking these portraits it has started to make more sense.
When you are adjusting people’s heads or shoulders so they don’t line up with the horizon it makes it so they don’t look like they are one with the background. It gives your picture more dimension putting distance between your subject and the horizon. Also when taking portraits outside you will either need to bracket or have some sort of auxiliary lighting like a flash, or a reflector. Let me know how it goes when you go out and take National Park Portraits.


Check out more National Park Portraits at https://thehearnes.com/blog/grand-teton-elopement-photographer


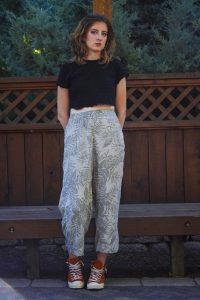
Group Idaho Model Photography

Group Idaho Model Photography
Here is my Group Idaho Model Photography. I honestly learned so much about group photography with this photoshoot. As you can obviously see there are only ones with two people and not more. That is because I couldn’t figure out how to pose more than two people. I also learned that if multiple people are taking pictures of the same people group of people you are going to end up with each person looking in a different direction.
Overall I recommend practicing how to pose groups of people larger than two people. That is my goal for the next week. I really want to push myself and learn how to do things that are hard, and not just give up. I think lighting also plays a huge role in this as well. I had group pictures of people I don’t want to post because the lighting is all wrong and I don’t think it does a good job showcasing what I know I can accomplish.


Check out more Group Idaho Model Photography at https://csiphotodesign.com/guys-and-groups/

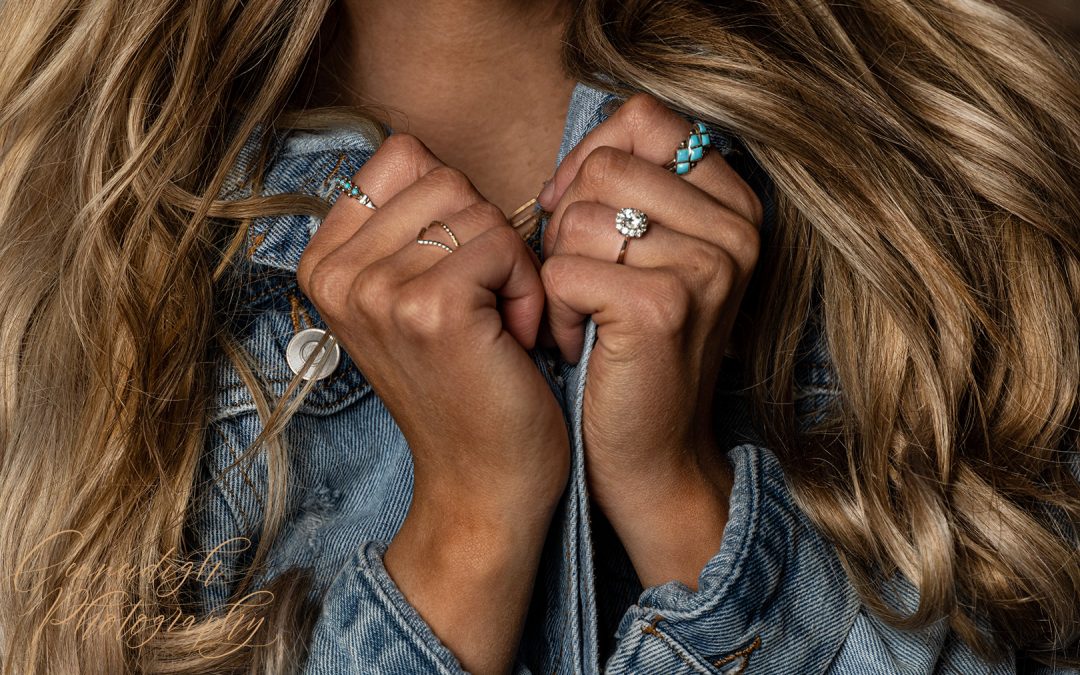
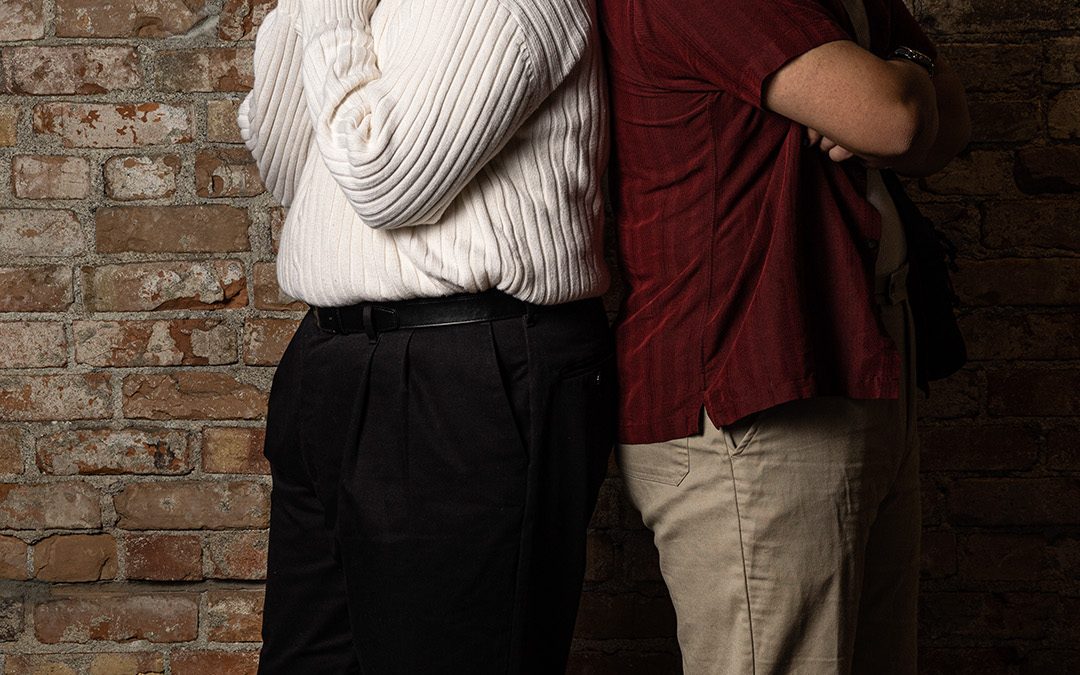
Accessory Idaho Model Photography

Accessory Idaho Model Photography
Here is my Accessory Idaho Model Photography. I really thought taking pictures of people’s accessories up front would be awkward and they wouldn’t turn out that great. But to be honest I think these are my favorite pictures from the entire shoot. I would just pose their hands or faces in a way so that I would just get the accessories I wanted. Also, it was way easier to only pose hands instead of whole bodies. A lot of people struggle with posing whole bodies but I think almost anyone can pose just their hands.
If you are ever wanting to start photography and people terrify you just like me, go out there are take pictures of only their hands and accessories and then you will realize that it really isn’t that hard. Also being able to play with the light to only accentuate the accessory in question was so cool and awesome to do.


Check out more Accessory Idaho Model Photography at https://www.pinterest.com/pin/207376757832249022/

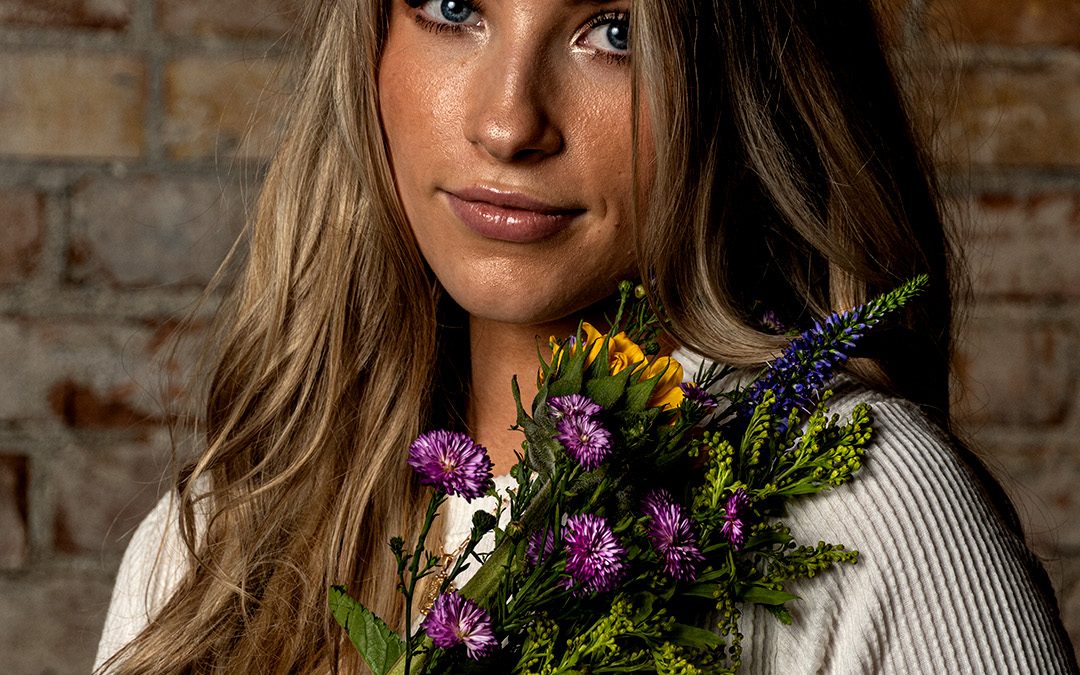
Female Idaho Model Photography

Female Idaho Model Photography
Here is my amazing Female Idaho Model Photography. These girls were incredibly awesome! I loved every minute of photographing them. Same as the Male Models I got to experiment with a ton of different lighting and backgrounds. These girls didn’t disappoint with their poses. They made this overwhelming experience so fun and unforgettable.
In the beginning, I struggled a lot with how I wanted the girls to pose and how I wanted to frame their bodies. But once I took a step back and realized that they knew what they were doing it was so much easier to hype them up and just have fun. When posing someone you want to make sure they know what they are doing and that they know how to work their own angles. My biggest posing advice is to teach them that triangles make everything look better.


Check out more Female Idaho Model Photography at https://www.annagorin.com/blog_/tag/models/

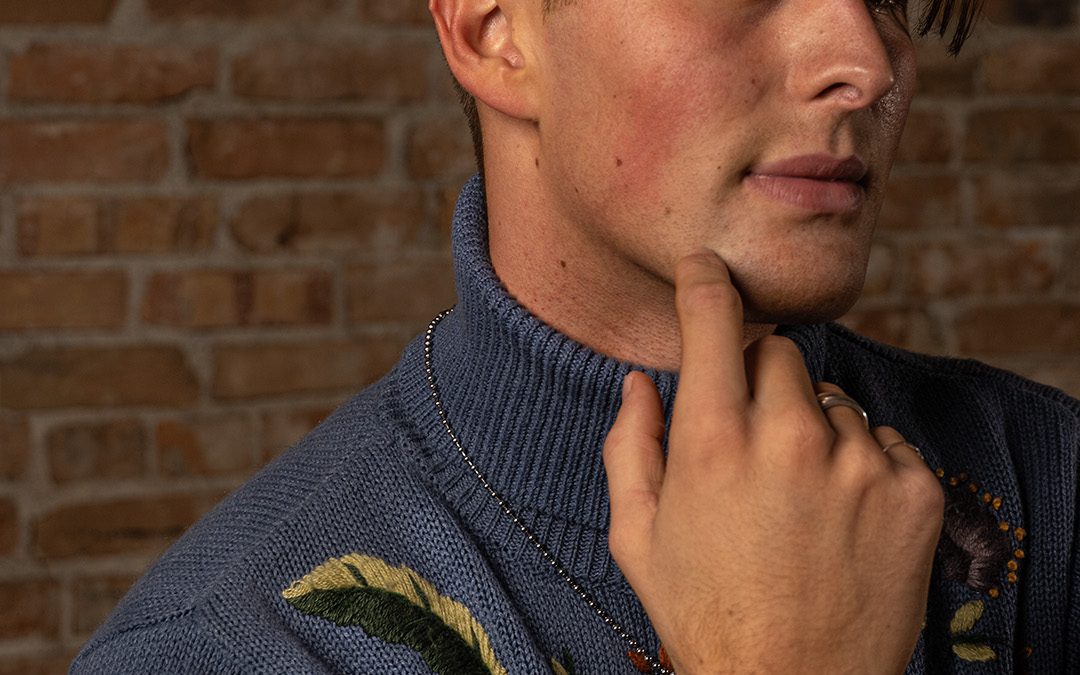
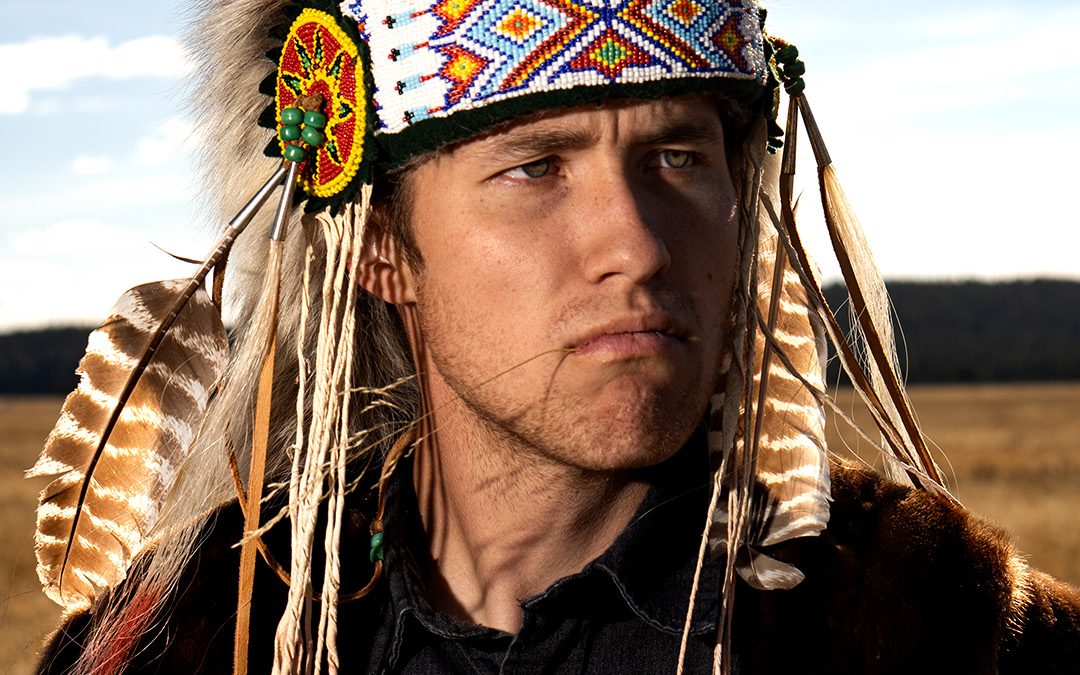
Male Idaho Model Photography

Male Idaho Model Photography
Here is my Male Idaho Model Photography. I’m not going to lie to y’all I struggle with portrait photography. I never know how to pose people or how to frame their bodies. It is probably the trickiest style of photography. I was so lucky to be able to attend this portrait workshop. There were a ton of models and different types of lighting, from speed lights to consistent lights. It was a lot of fun to learn about all the different types of lighting and camera settings.
If you ever get a chance to go out to take portraits I highly recommend it. Although I struggle a lot with this style of photography I was able to learn a lot and really push myself to create beautiful pictures of these amazing models. I also love how all of these turned out and I am very proud of my Male Idaho model Photography.


Check out more Male Idaho Model Photography at https://www.annagorin.com/blog_/tag/male-portrait/


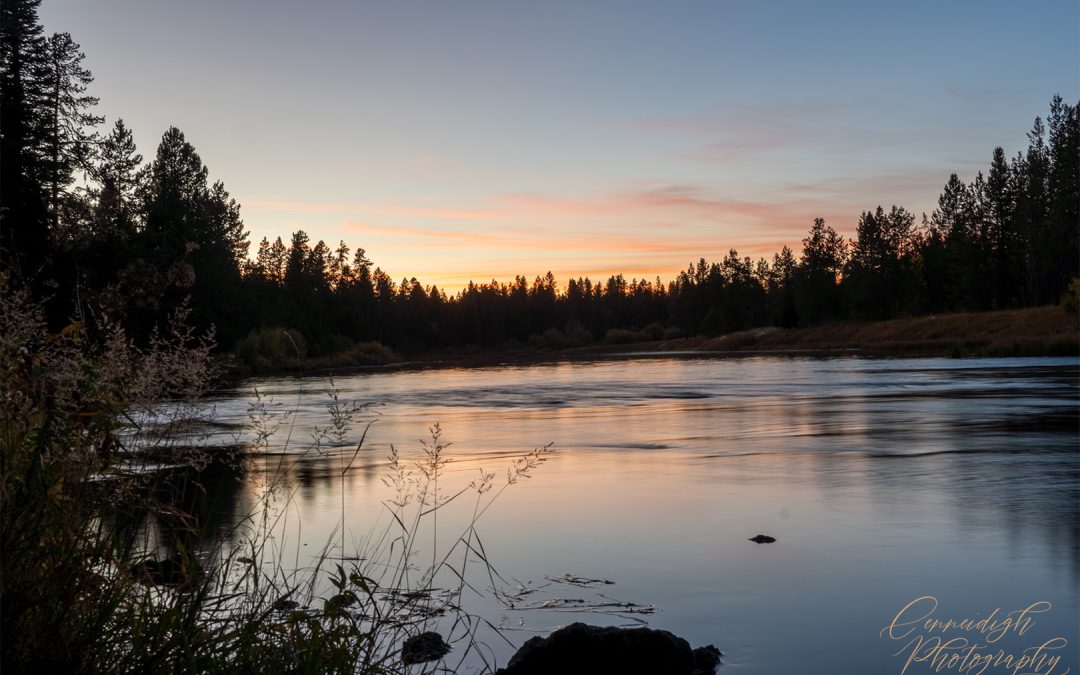
Buffalo River Photography

Buffalo River Photography
While taking Buffalo River Photography, I learned how important it is to turn around and look at all angles. We showed up to take photos right before sunset so the sun was shining through the trees on one side. But if you looked over to the other side the sky looked millions of times better. Then as the sun was setting the sky looked way different from one side than to the other. I also learned that if you look around you might see something that no one else saw, like the one yellow tree mixed in with all the green trees.
Shooting pictures of the sunset is a little different for me because when you bracket it is such a long exposure, so you need a tripod to have any clear photos. While on this trip I also learned about putting things in the foreground of your photos to give them dimension. I also got a lot of experience photoshopping people out of photos, there were so many of us and I wanted to get the sunset more than I wanted a clear shot. I think the most important thing to learn is how to get rid of unwanted people, vehicles, or any other distractions.


Check out more Buffalo River Photography at https://www.buffaloriverphotos.com/


Yellowstone National Park Photography

Yellowstone National Park Photography
While in Yellowstone National Park I was able to capture these amazing photos. I had only ever been to Yellowstone once in my life four years ago, but I had never seen anything but the Old Faithful Geyser. It is amazing the views and the different types of natural landscapes in this national park. I had a lot of fun adventuring out in the millions of different landscapes and views that Yellowstone National Park had to offer.
While editing these photos I learned the importance of a tripod when bracketing water shots. For some of these places I was being lazy and didn’t set up my tripod and a majority of the photos didn’t turn out. It is important to bracket and have a tripod set up, especially when you are dealing with water and trying to make it flow nicely in the photo. If you ever go to Yellowstone make sure to look for wildlife, you never know when you might see a bear.


Check out these photos taken at Yellowstone National Park at https://www.nps.gov/yell/planyourvisit/photography.htm

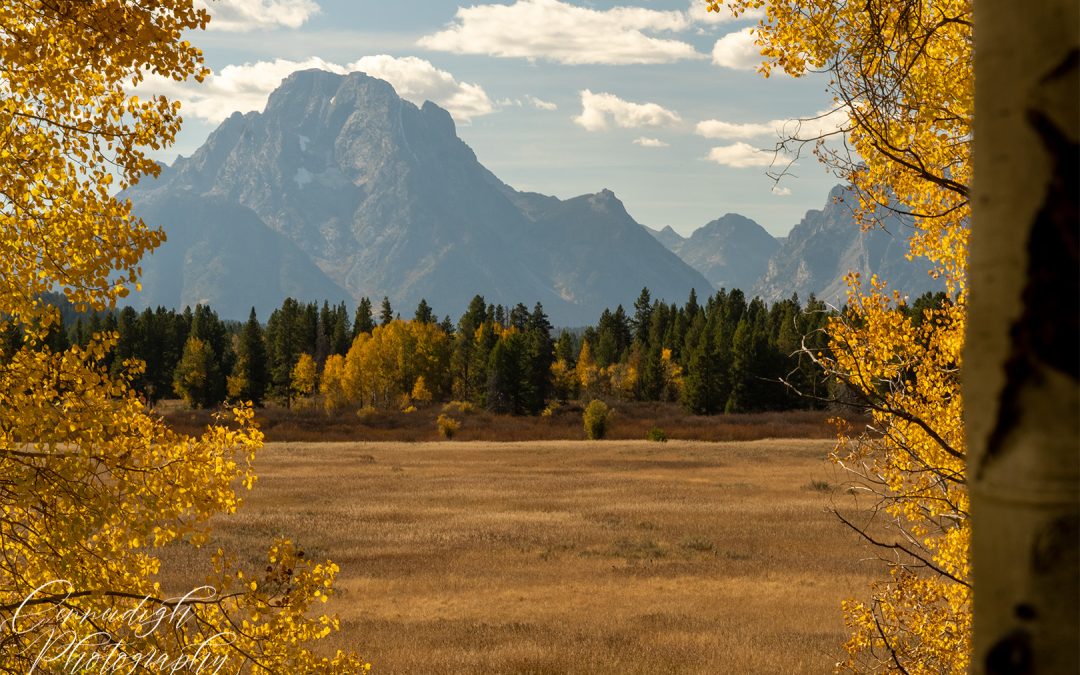
Grand Teton Photography

Grand Teton Photography
While going to the Grand Teton National Park I was able to take these beautiful photos. I had never been to the Tetons before, but I have always wanted to see them up close ever since I saw them from Rexburg, Idaho. The things that I have learned about taking landscape photos at the Grand Teton National Park, are you need to bracket, and you need a CPL filter. I was able to capture the dark sky and the reflection in the water because of my CPL filter. And you can get pretty cheap and effective ones on Amazon.
I also learned the importance of foreground, When you have the ability to focus on something 1/3 of the way up you will be able to get a clear shot for the rest of the 2/3rds of the picture. And lastly, you need to check the weather, When you check the weather you can be sure to have clear skies and see the tops of the Grand Tetons.


Check out these awesome places to take pictures in the Grand Tetons at https://www.seekingoursomeday.com/blog/best-grand-teton-photo-spots


Food and Product Photography Idaho

Food and Product Photography Idaho
I was able to take these food and product photography Idaho in Island park, Idaho. It was a lot of fun to try out different lighting and water techniques. For some of the photos, we used a lot of auxiliary lights like light bars in all different colors, light umbrellas, speed lights, and under-the-table lights. For all the indoor photos I got to try out water droplets and water mist to get unique lighting on the photos. I was also able to use different colored auxiliary lights to give products a different ambiance.


I also got to take some of the products outdoors to create a natural vibe to the photos. I was able to find things that just made the products pop and also use natural light. Overall the one thing that I learned when editing these photos is that dodge and burn in photoshop makes all the difference in your photos. This year I decided I really wanted to figure out how to use more of the tools in photoshop and the most important one is dodge and burn.


Check out more food and product photography Idaho at https://photodesignbyrachel.com/idaho-food-and-product-photography/